Basri
An interactive and immersive experience that promotes human creativity through creation of Islamic-inspired design.
PROJECT TEAM
Maxim Safioulline
Michael Coty
Maxim Safioulline
Michael Coty
My role was to design and build
Basri’s experience, while Maxim
developed code, planned hardware,
and guided the project.
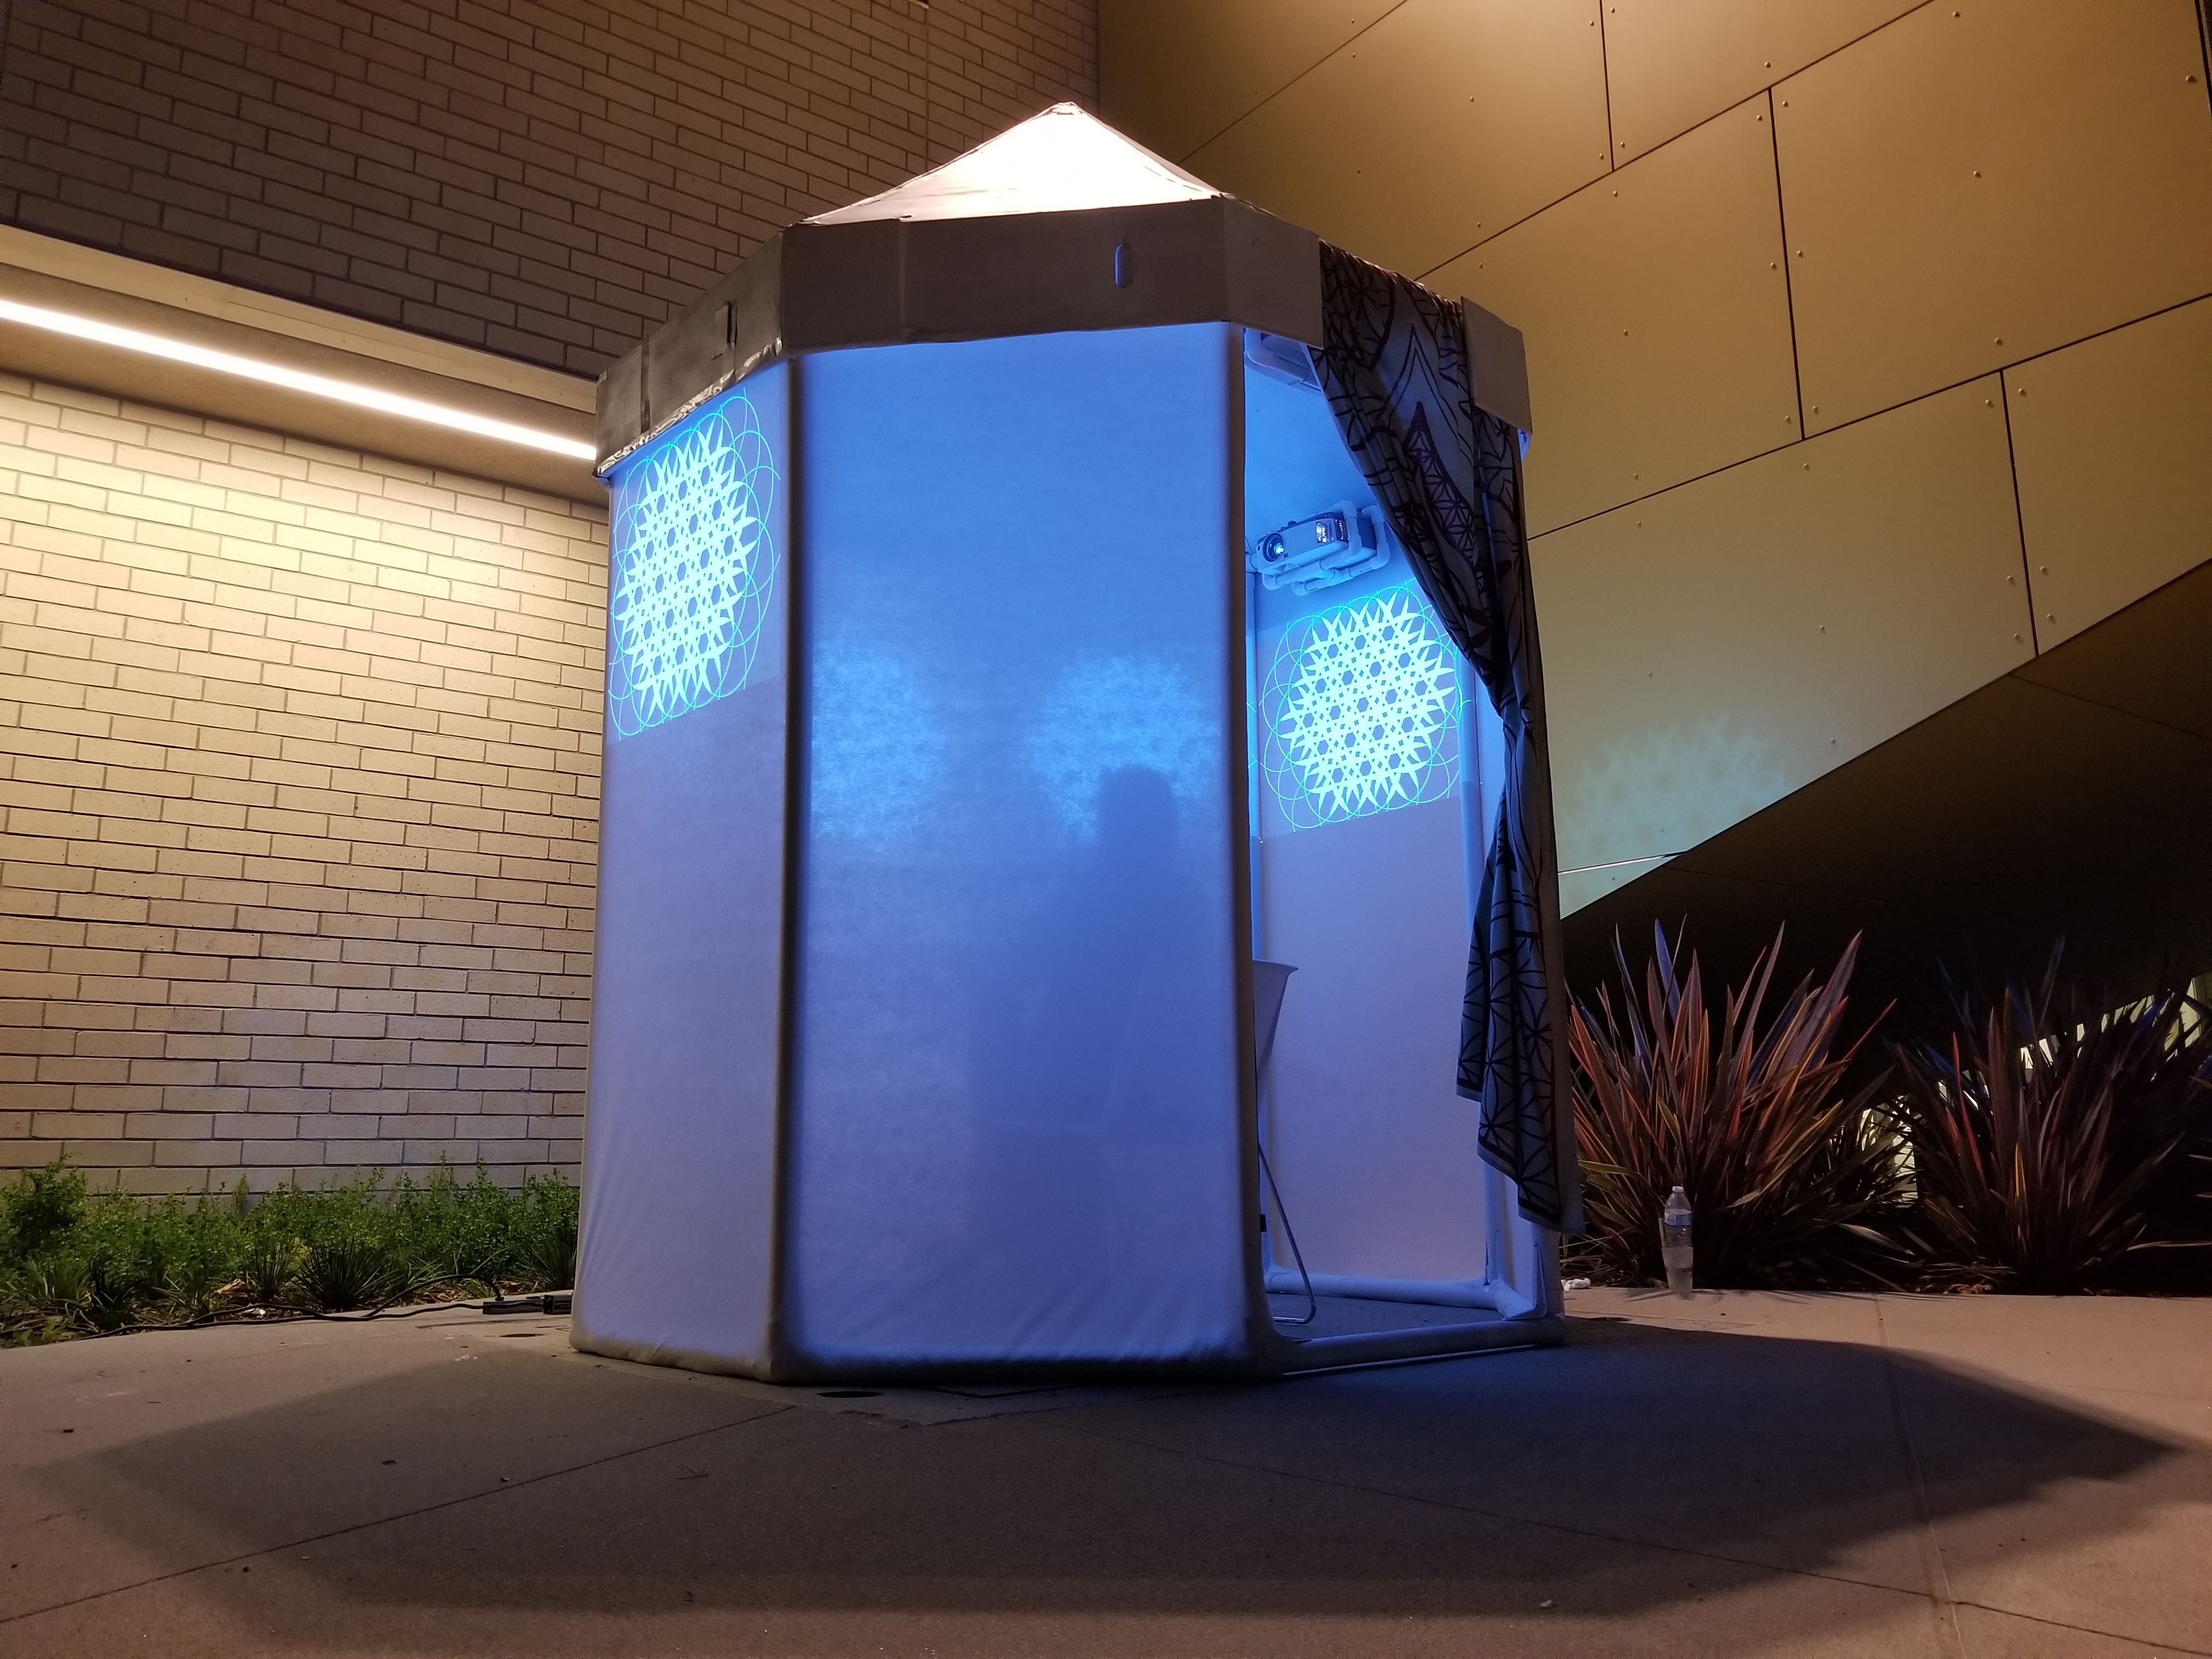
We created a small pavilion where
participants interact with an immersive
360-degree projection of Islamic
design patterns.
Basri’s experience, while Maxim
developed code, planned hardware,
and guided the project.
We created a small pavilion where
participants interact with an immersive
360-degree projection of Islamic
design patterns.

Research
History is the foundation of Basri.
Researching the Islamic Golden age
helped shape constraints.
Researching the Islamic Golden age
helped shape constraints.


Sketching
Sketching object forms, exploring tactile
interactions and possible scenarios helped
direct digital / physical decisions.
interactions and possible scenarios helped
direct digital / physical decisions.

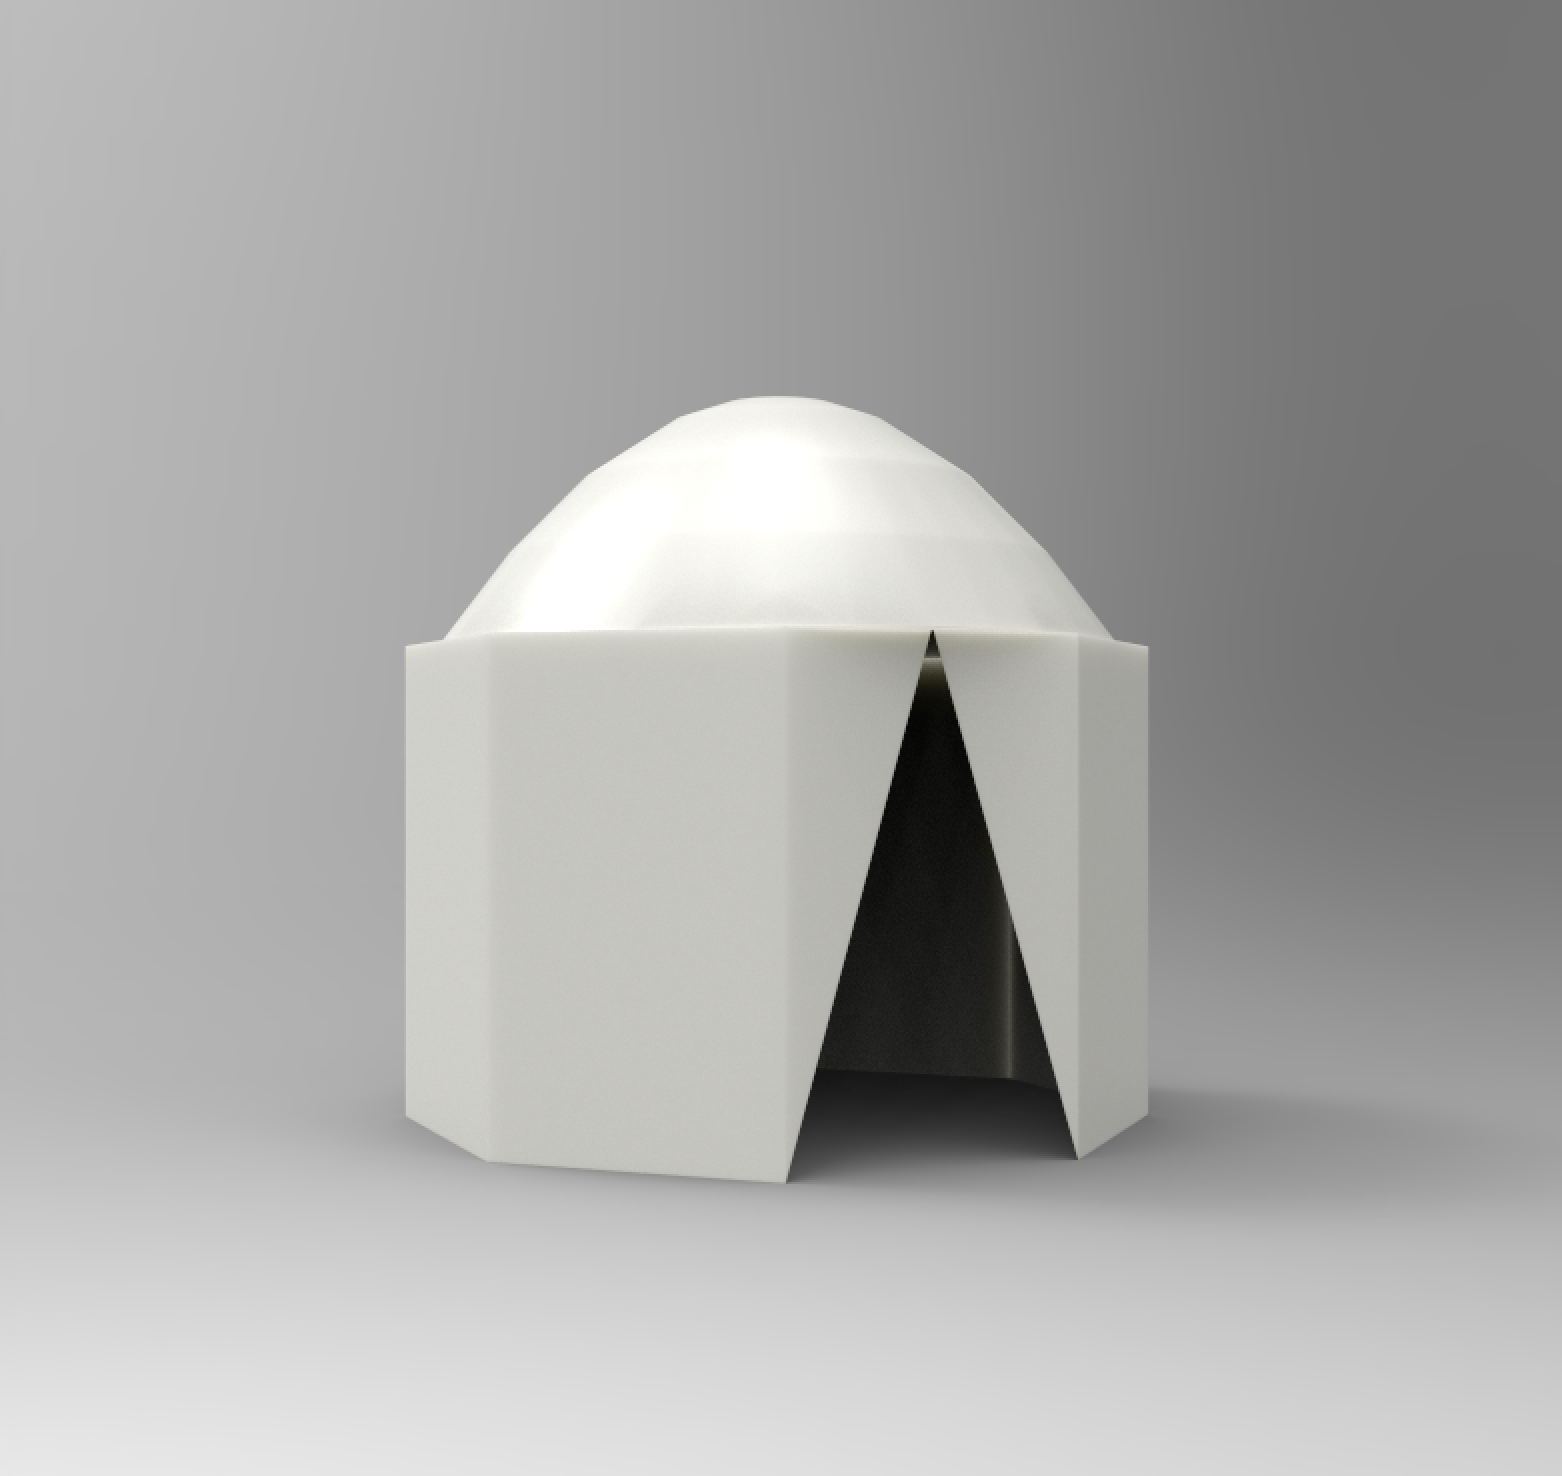
Digital Design
Schematics, 3D models, and rendering
were created to help inform size and space.
Understanding the objects form,
material, and finish influenced
a final design.
were created to help inform size and space.
Understanding the objects form,
material, and finish influenced
a final design.
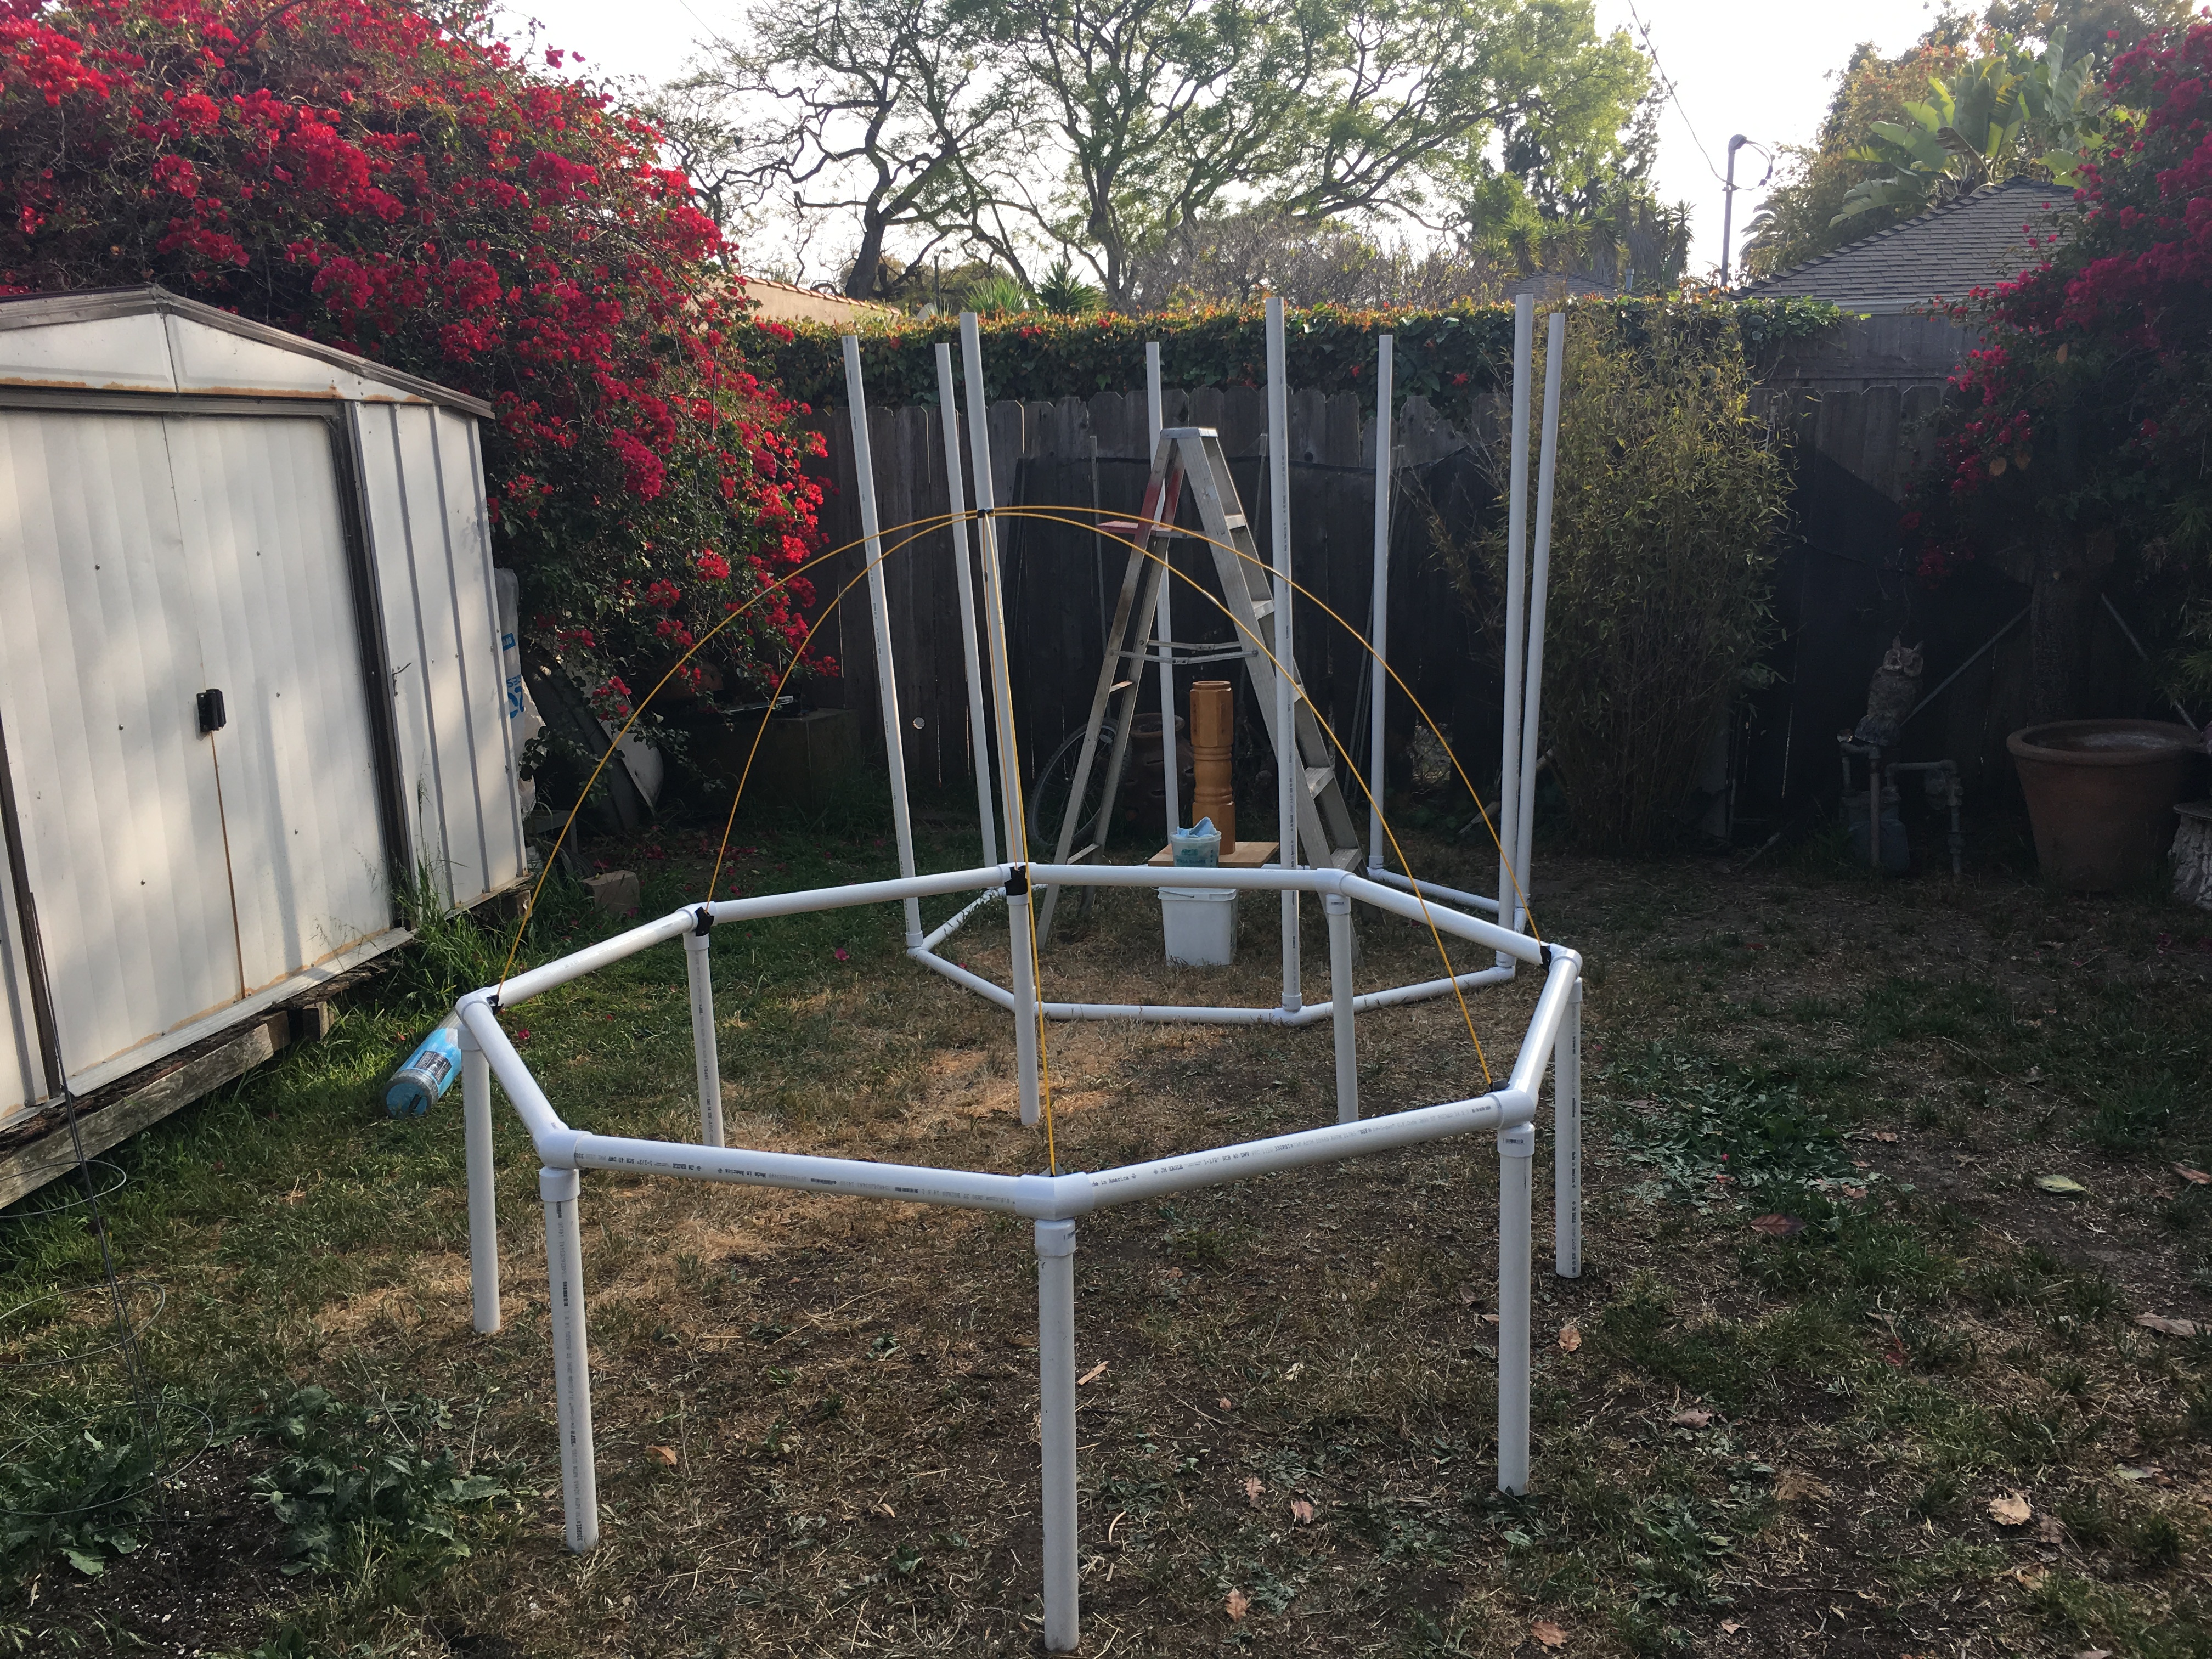
Prototyping
After creating schematics and 3D
renders, physical protoyping took
place in the shape of a PVC frame.
renders, physical protoyping took
place in the shape of a PVC frame.

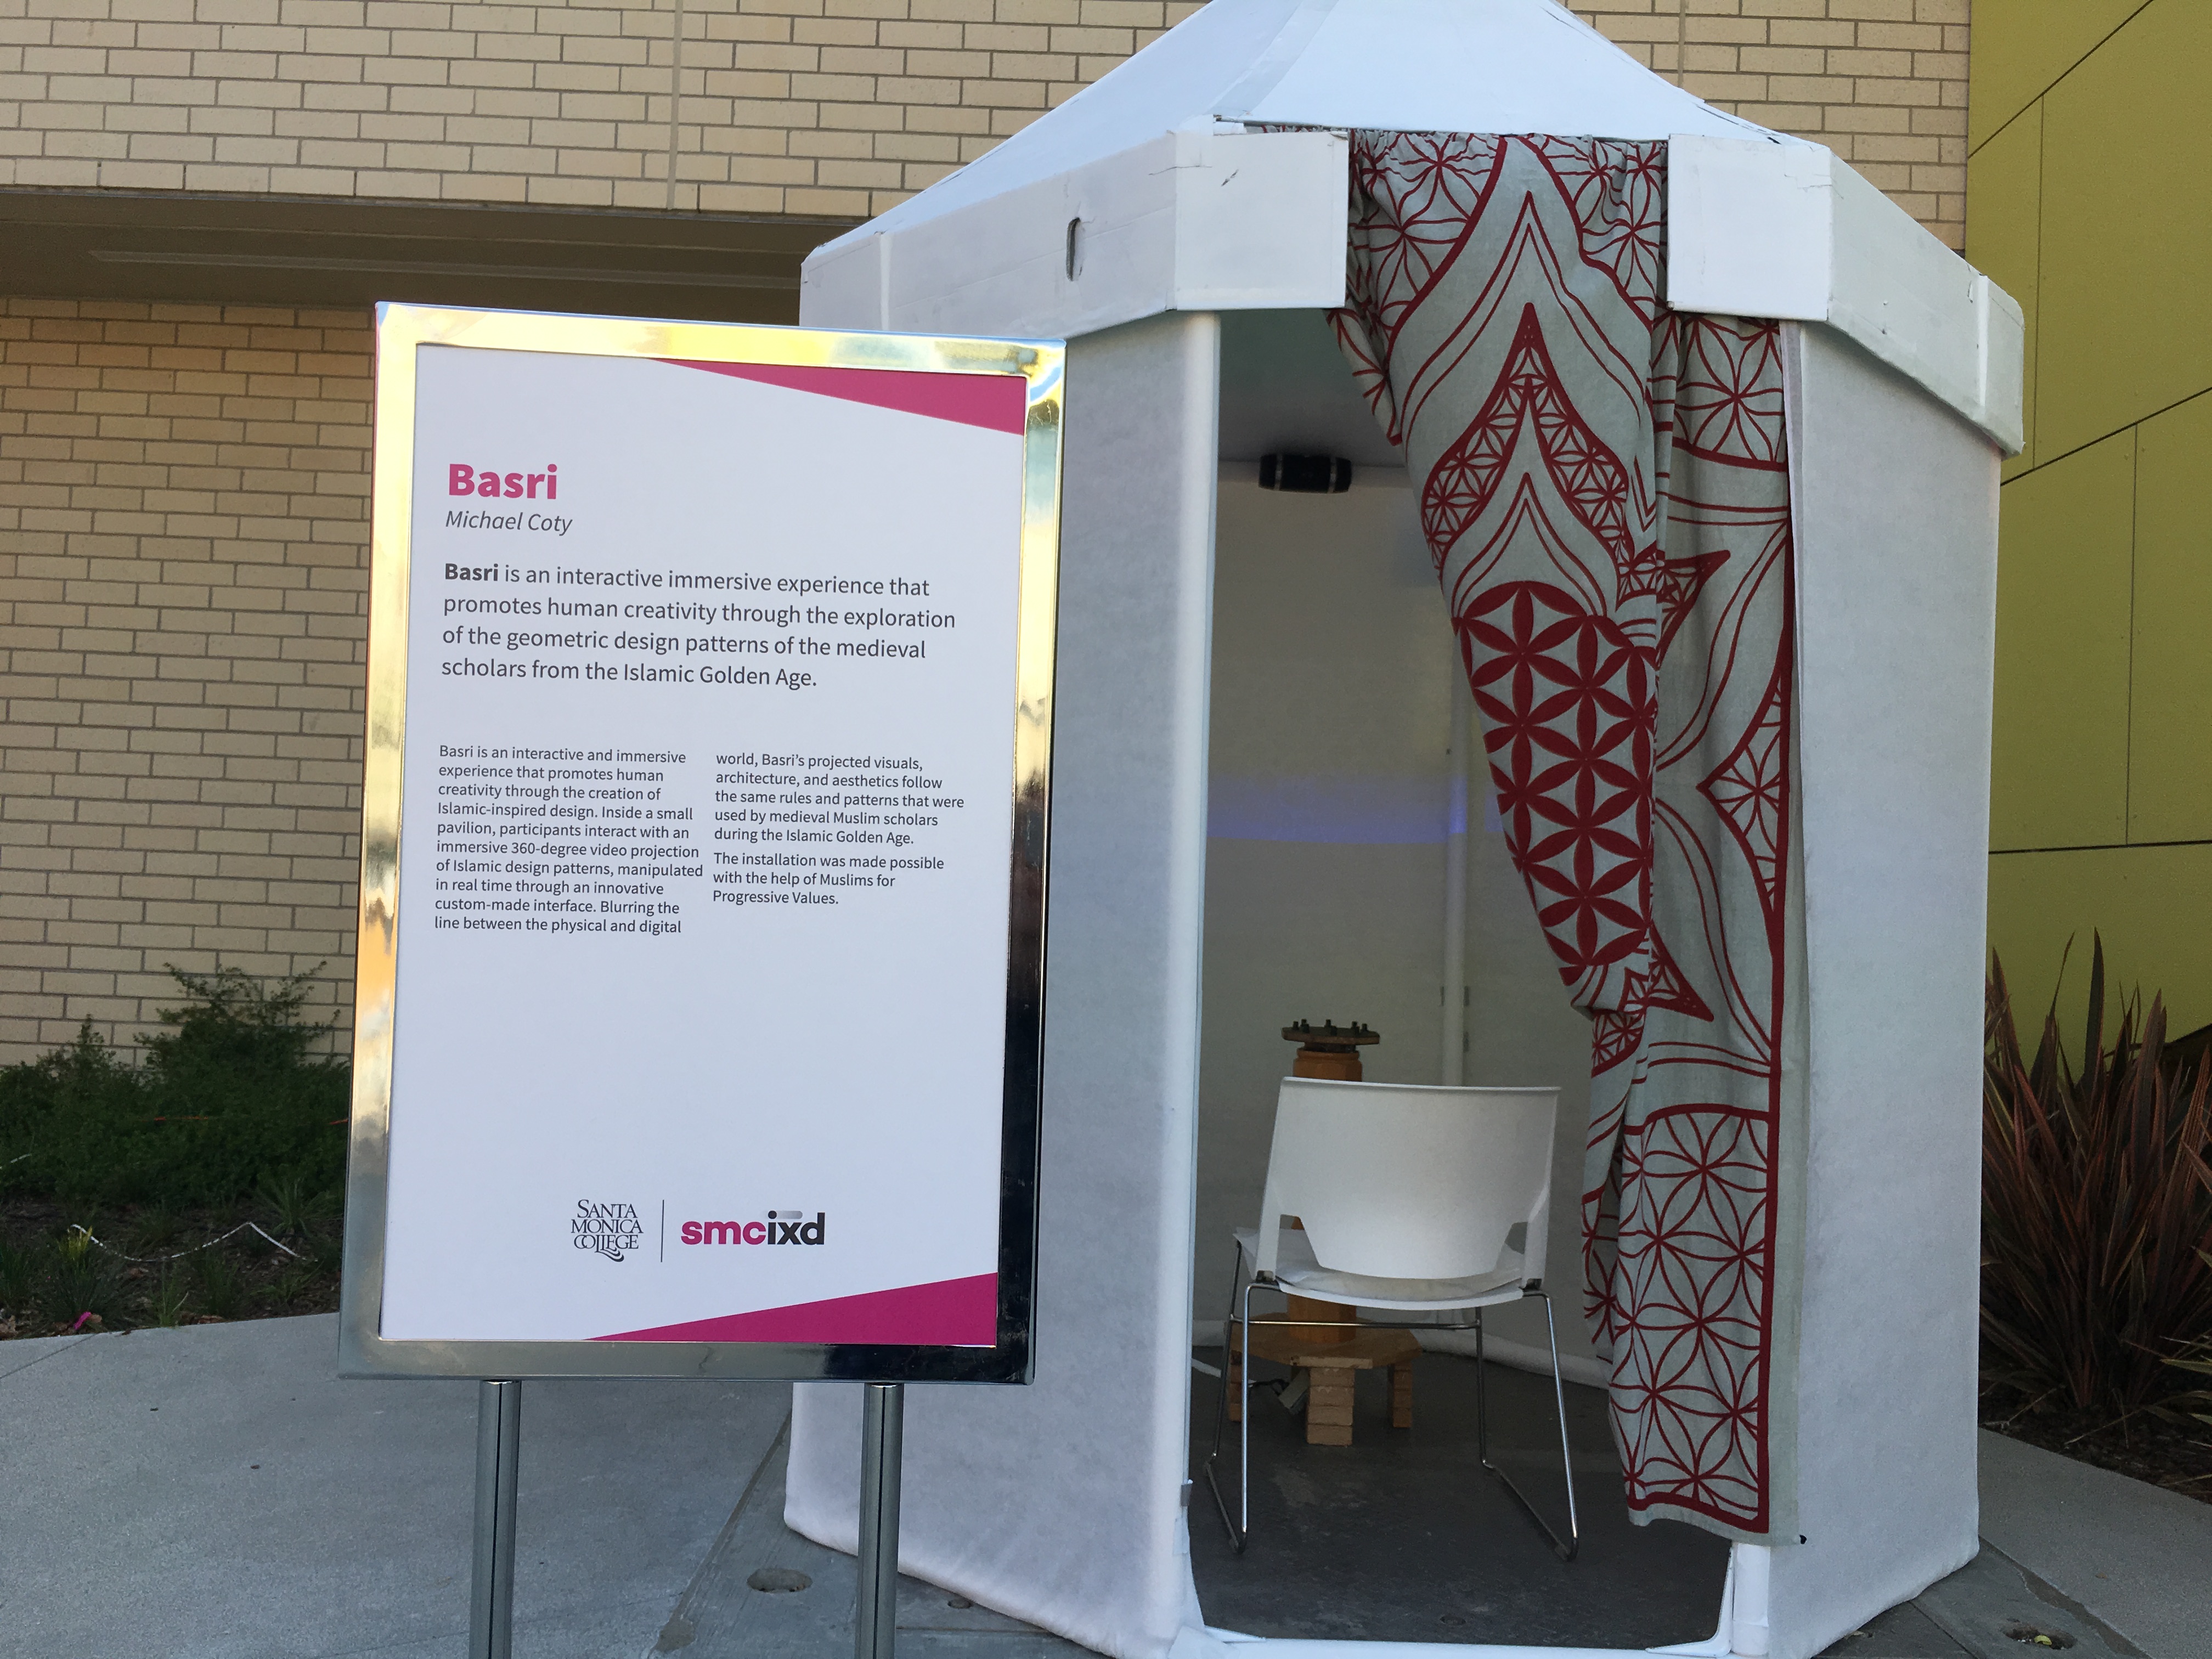
Installation
Basri was installed and interacted with
during the first ever SMC IxD senior show!
This project is still in progress!
during the first ever SMC IxD senior show!
This project is still in progress!
Emotional Ecosystem
The human brain is an emotional ecosystem that raises many curiosities. Is emotional data valuable, can it be captured, and represented?
PROJECT TEAM
Casey McCallister
Sasha Bassiouk
Michael Coty
Casey McCallister
Sasha Bassiouk
Michael Coty
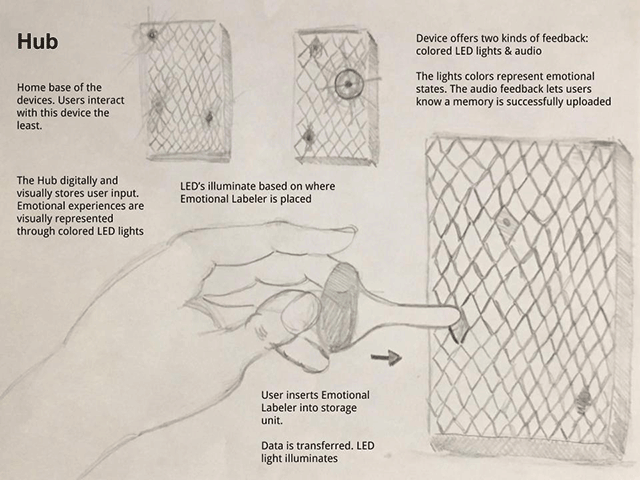
My role for this project was to design
the emotional ecosystem’s Hub.
This peice is the home base, and data
storage center of the system.
There are 3 pieces in the system.
Casey worked on the labeler, and
Sasha worked on the headband.
the emotional ecosystem’s Hub.
This peice is the home base, and data
storage center of the system.
There are 3 pieces in the system.
Casey worked on the labeler, and
Sasha worked on the headband.
Research
Exploration and research is the foundation
of this project.
of this project.

Sketching
During this process I explored how tactile
interactions might take form.
Sketching object forms and possible scenarios
directed digital and physical decisions.
interactions might take form.
Sketching object forms and possible scenarios
directed digital and physical decisions.
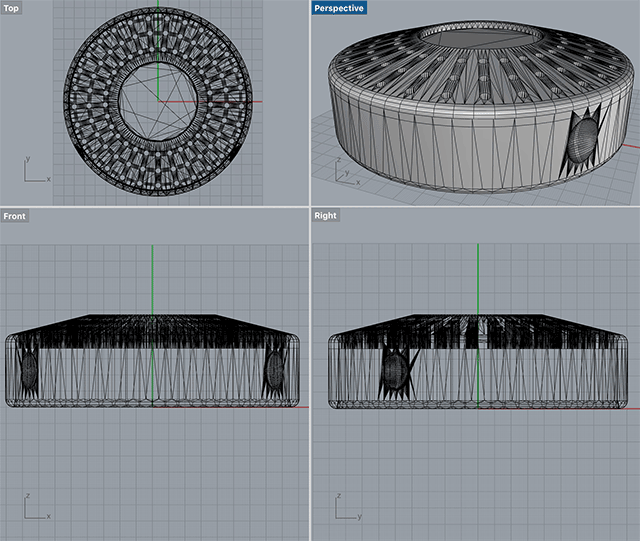

Digital Design
Schematics, 3D models, and rendering
were created.
Understanding the objects form,
material, and finish helped create
a cohesive system.
were created.
Understanding the objects form,
material, and finish helped create
a cohesive system.
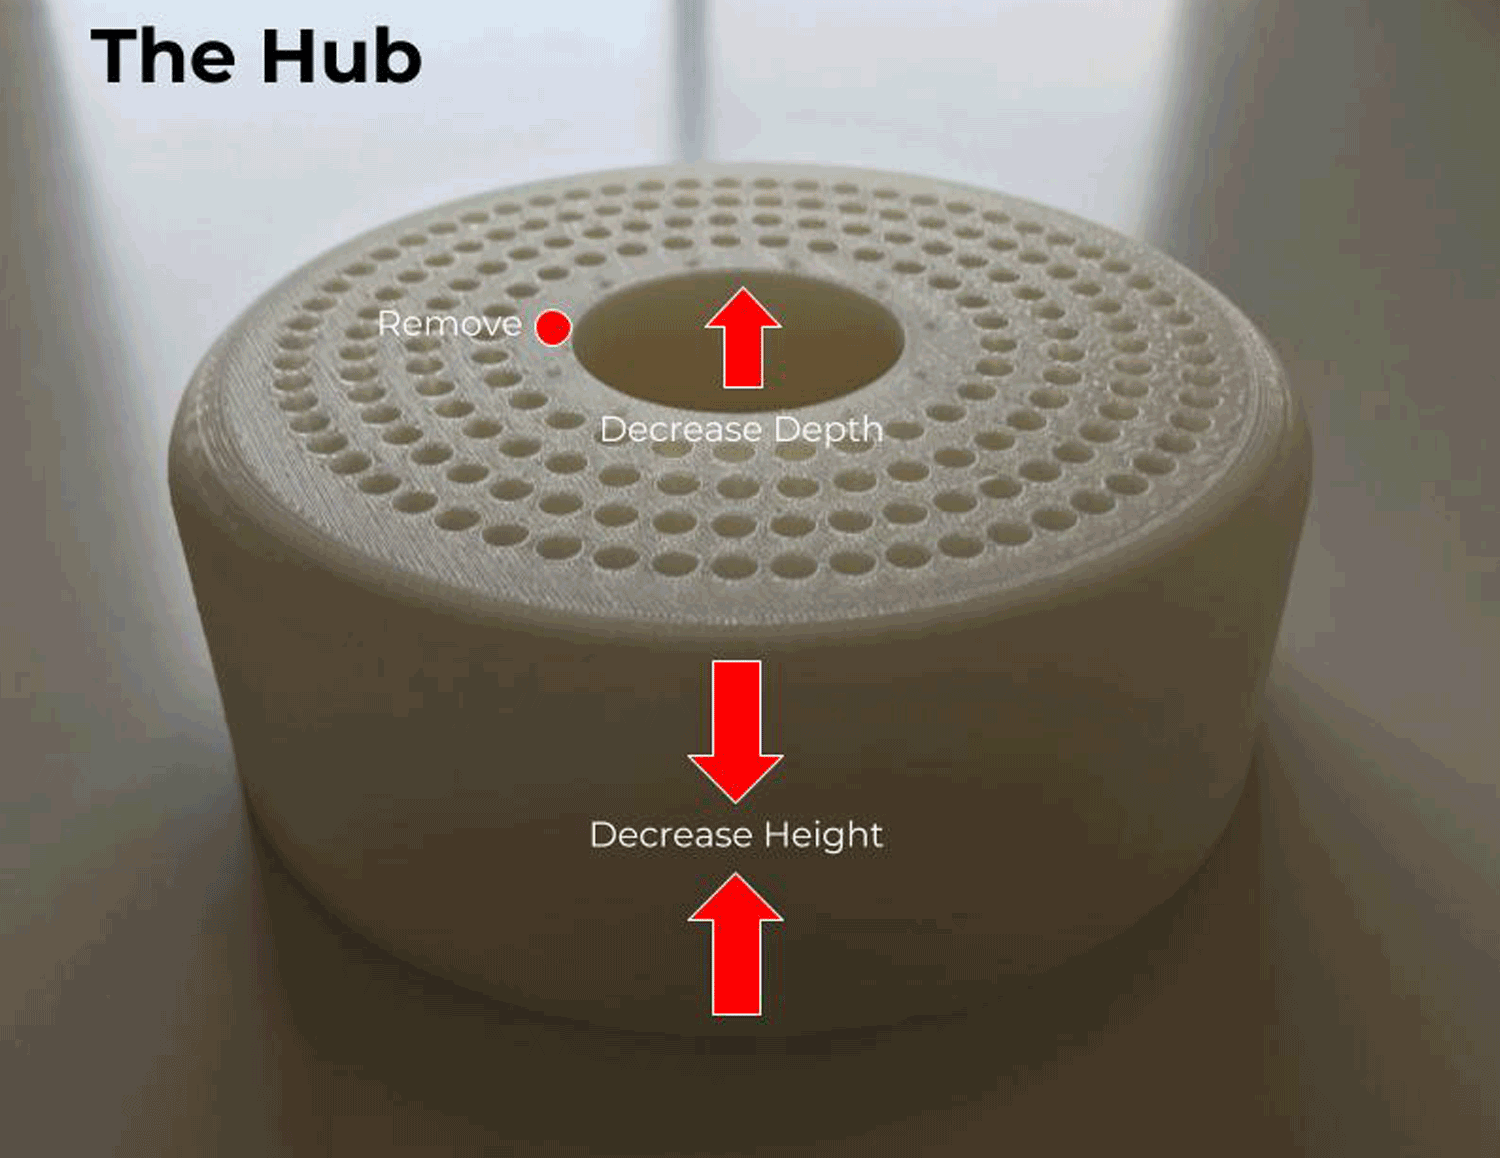
Prototyping
After paper prototyping and the first 3D
print, feedback helped iterate and refine
the design.
Physical prototyping led to an understanding
of the objects ergonomics and feel.
print, feedback helped iterate and refine
the design.
Physical prototyping led to an understanding
of the objects ergonomics and feel.
3D Printing
There were two rounds of 3D printing.
The first prototypes were to inform
shape, and ensure the system fit.
The second print was our final for
this project.
The first prototypes were to inform
shape, and ensure the system fit.
The second print was our final for
this project.
H2GO
A wearable for surfers that measures water quality by checking for harmful contaminants

PROJECT TEAM
Michael Coty
Michael Coty
H2GO wearable provides surfers
a piece of mind while in the water.
Surfers are exposed to harmful
contaminants while in the ocean,
often without even knowing until
its too late.
H2GO monitors water levels actively
and passively, providing a record of
previous / current water conditions.
a piece of mind while in the water.
Surfers are exposed to harmful
contaminants while in the ocean,
often without even knowing until
its too late.
H2GO monitors water levels actively
and passively, providing a record of
previous / current water conditions.
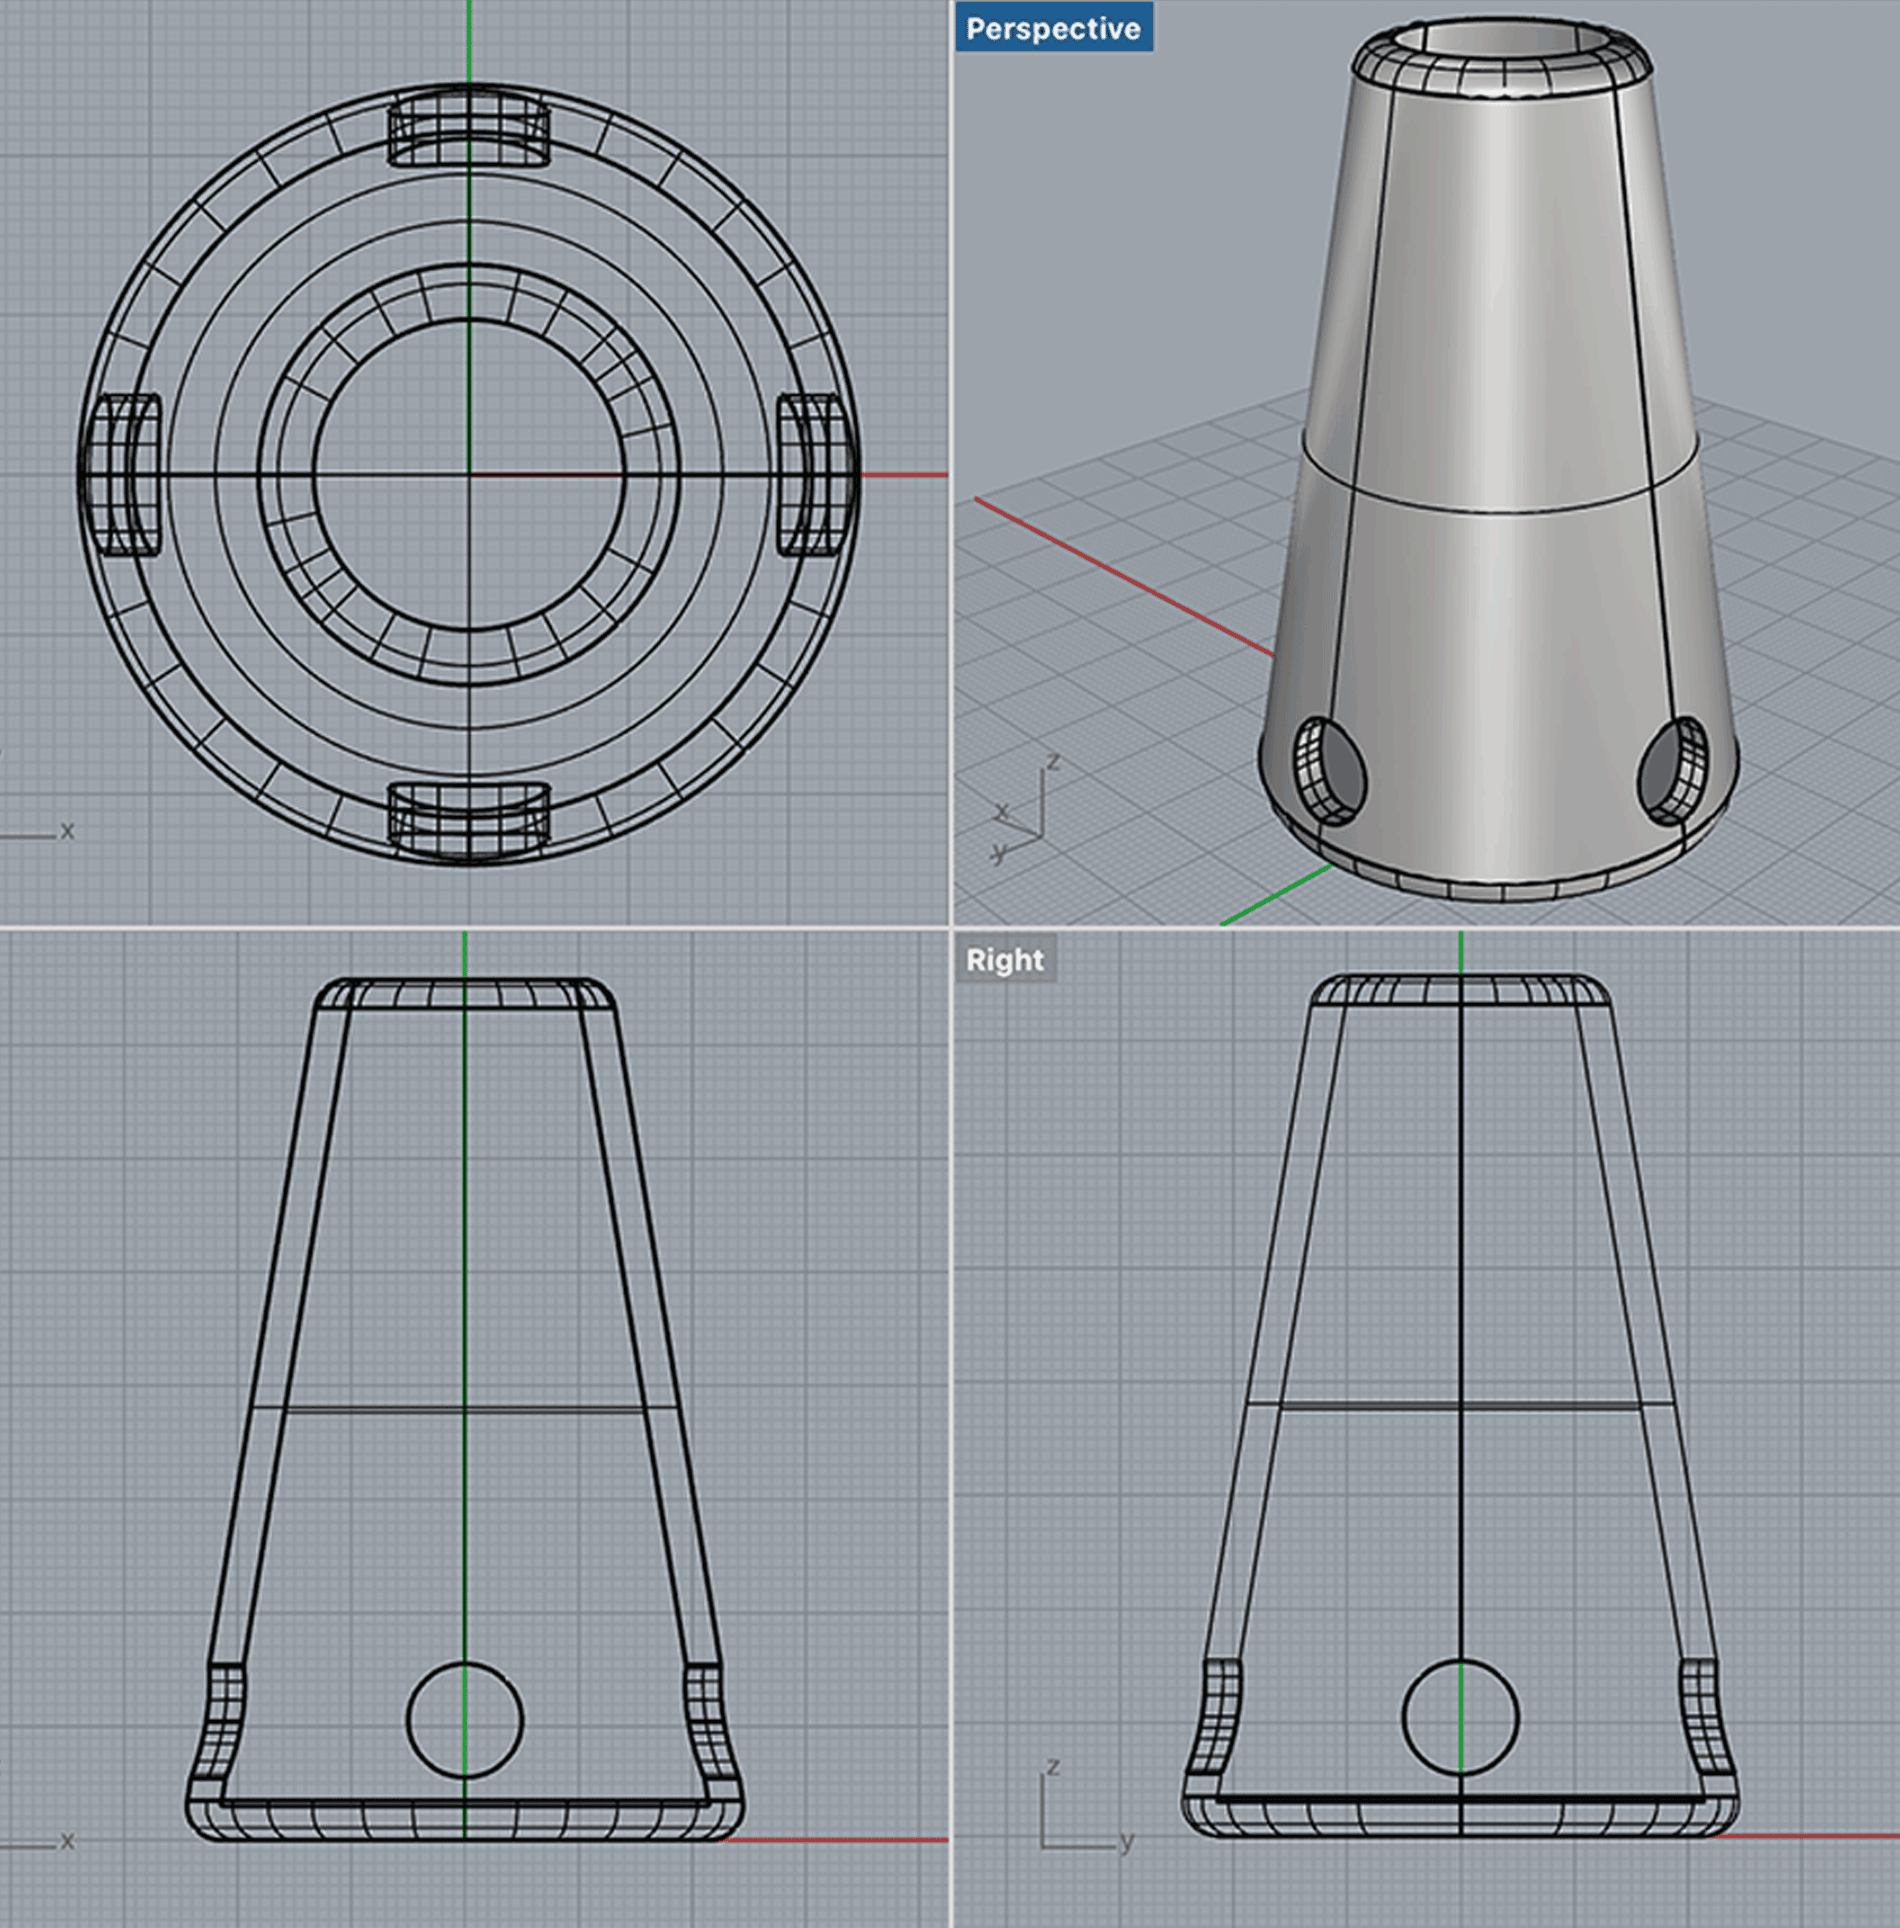
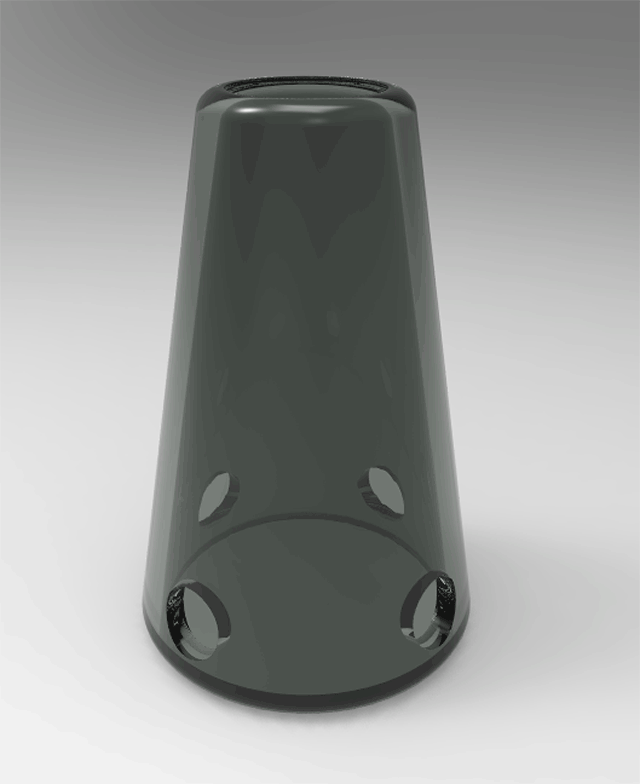
Digital Design
Schematics, 3D models, and
rendering helped inform size,
form, plus material finish.
rendering helped inform size,
form, plus material finish.

UI Design
The interface visually represents data
to create an understand of conditions.
H2GO logs water quality and publicly
shares the information.
to create an understand of conditions.
H2GO logs water quality and publicly
shares the information.

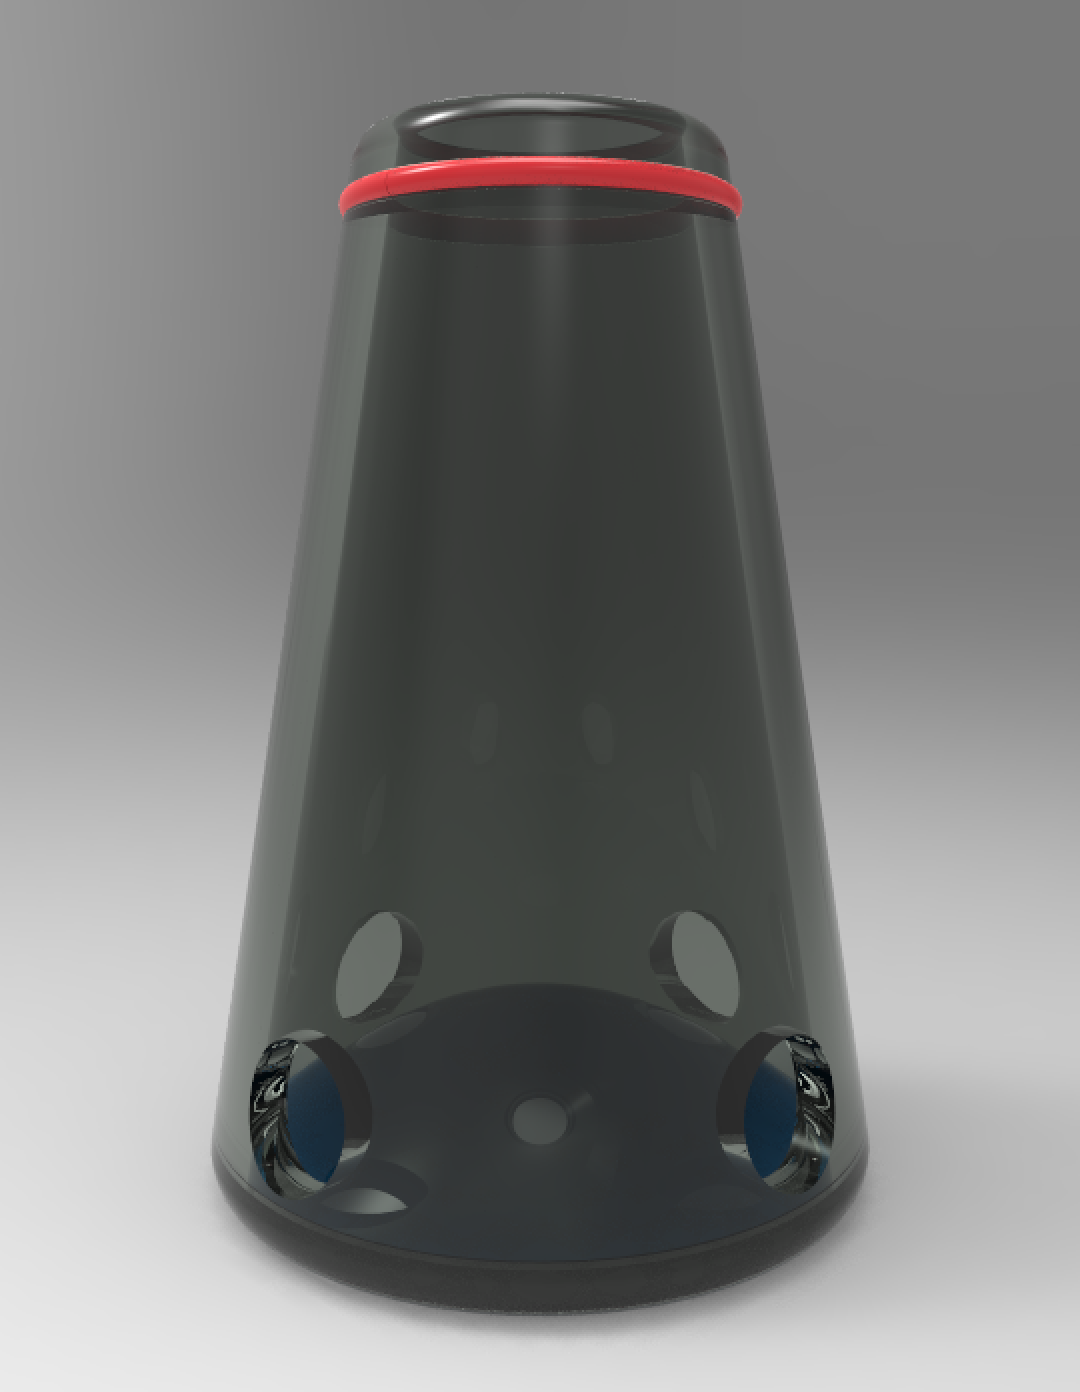
Final 3D Render
Green means go, and red means no!
H2GO is simple and easy to use. When
exposed to water that is considered
harmless it glows green, while glowing
red when contaniments are detected.
The hardware is simple and is an ocean
intended wearable.
H2GO is simple and easy to use. When
exposed to water that is considered
harmless it glows green, while glowing
red when contaniments are detected.
The hardware is simple and is an ocean
intended wearable.
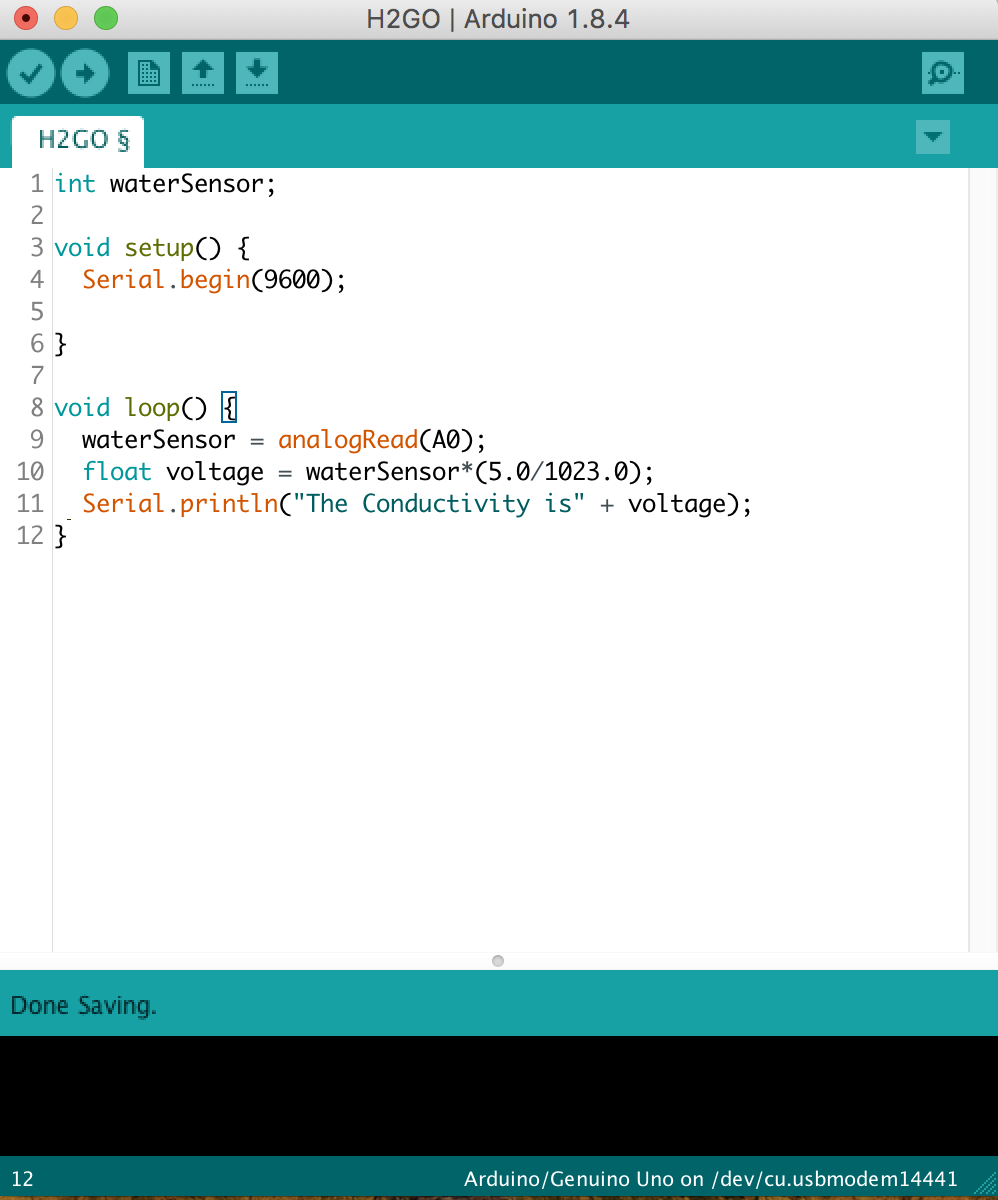
Prototyping
H2GO is still a prototype. At this point
arduino and a basic water sensor read
voltage to detect contaniments.
Protoyping will continue to evolve
with more testing, and feedback.
arduino and a basic water sensor read
voltage to detect contaniments.
Protoyping will continue to evolve
with more testing, and feedback.
Operation CMD
How migh we help students new to campus feel welcomed and informed?

PROJECT TEAM
Edwin Rodriguez
Michael Coty
Evan Pierre
Edwin Rodriguez
Michael Coty
Evan Pierre
Santa Monica College’s new CMD
campus needed a little help!
We decided to help students feel
welcomed and informed during their
first days at school.
campus needed a little help!
We decided to help students feel
welcomed and informed during their
first days at school.
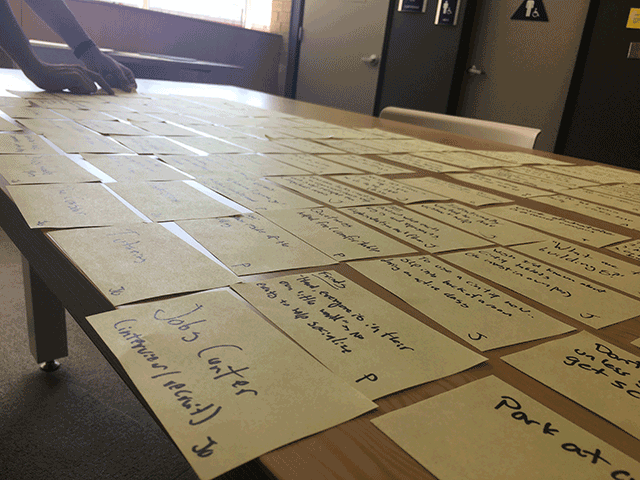
RESEARCH
We researched, interviewed students,
and synthesized findings into insights.
The final affinity map led our team to
prototype 3 ideas.
We persued the CMD Scavenger Hunt.
and synthesized findings into insights.
The final affinity map led our team to
prototype 3 ideas.
We persued the CMD Scavenger Hunt.

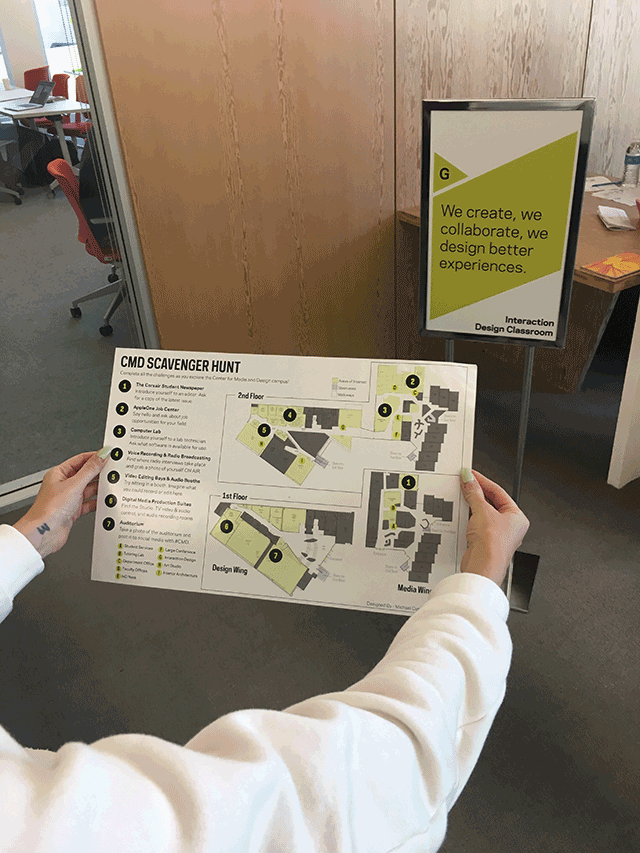
Prototyping &
User Testing
User Testing
We paper prototyped the scavenger hunt
and the complimentary sinage.
Students were given a series of tasks,
and earned a mystery prize upon completion.
Students had fun, and became more
educated about their campus. All feedback
collected shaped the final design.
and the complimentary sinage.
Students were given a series of tasks,
and earned a mystery prize upon completion.
Students had fun, and became more
educated about their campus. All feedback
collected shaped the final design.
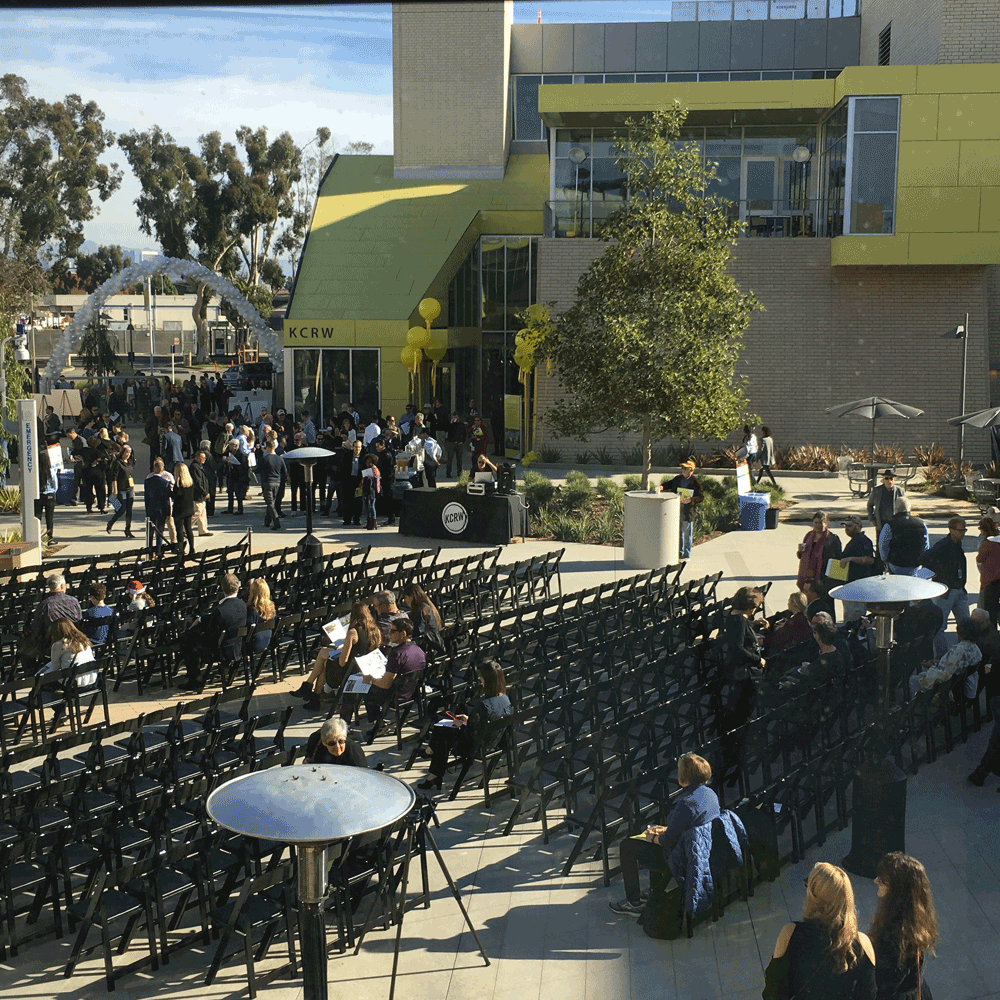
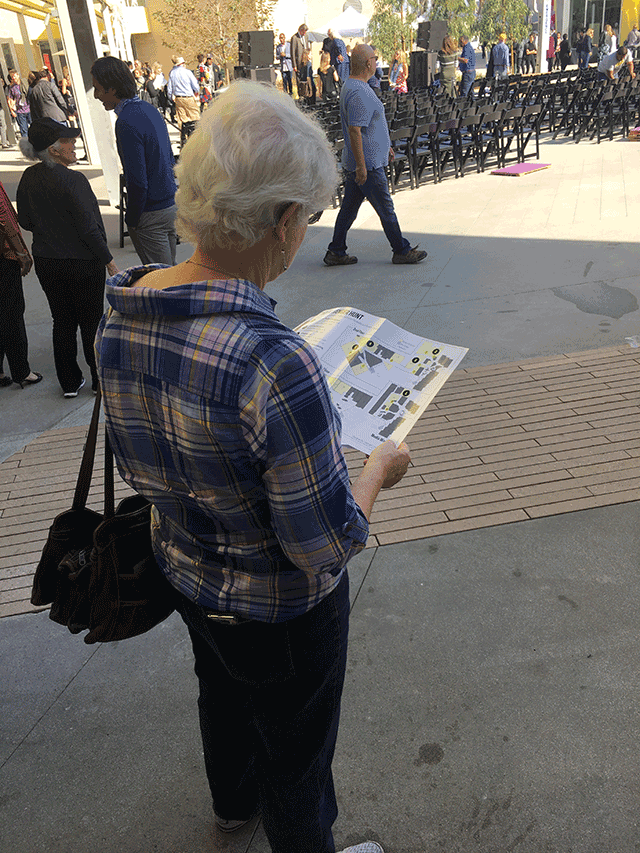
Opening Event
Our design was a part of CMD campus
opening event!
The scavanger hunt maps led people
throught the campus while the signage
confirmed the right direction.
opening event!
The scavanger hunt maps led people
throught the campus while the signage
confirmed the right direction.

The Drift Trike Project

Welcome to the Electric Drift Trike Project!
In 15 steps we will assemble a working electric drift trike.
![]()
In 15 steps we will assemble a working electric drift trike.

Step 1: Pegs
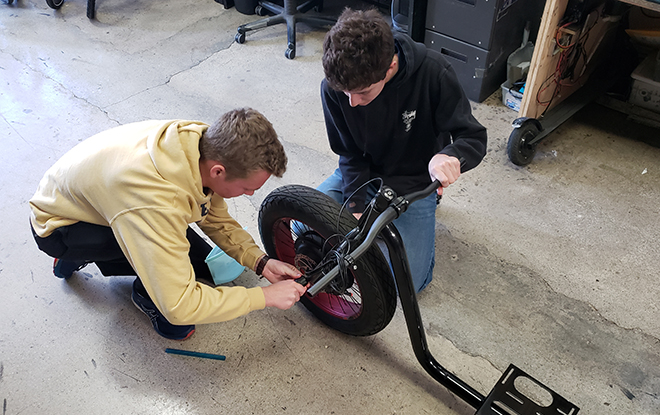

Thread each peg onto the front wheel axel. Use an allen wrench to tighten pegs down.
Step 2: Throttle
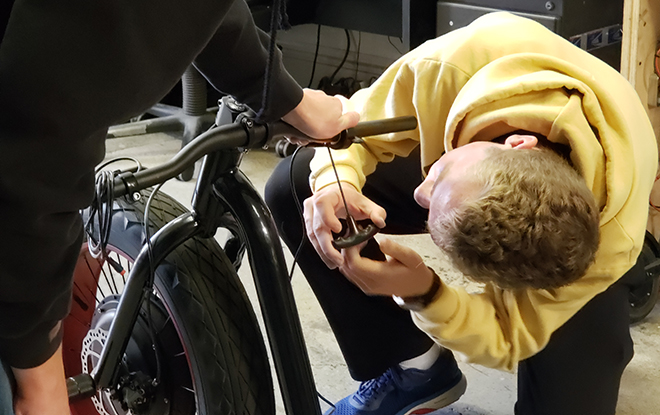

Install the throttle onto the handlebars by tightening the set screw with a 3mm allen key.
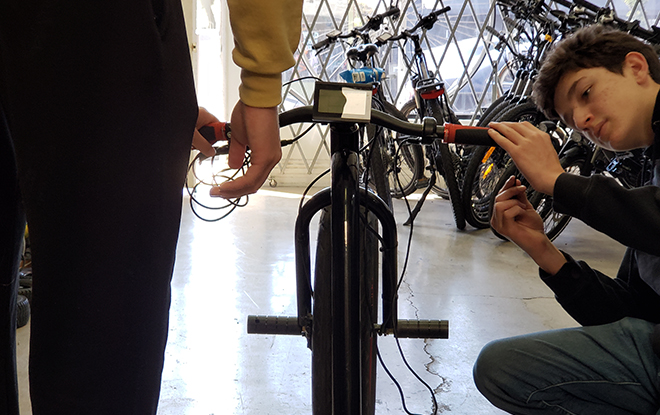
Step 3: LCD Screen


Use a phillips screw driver to secure the power level selector. Strap the LCD screen by its rubber clamps.
Step 4: Grips

Using a 3mm allen key install both grips.
Step 5: Setting the Components
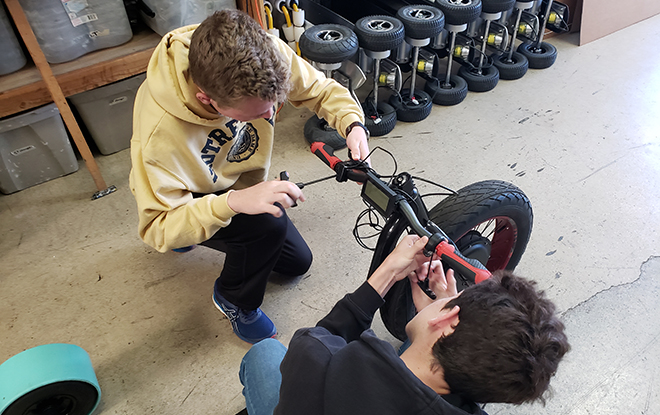
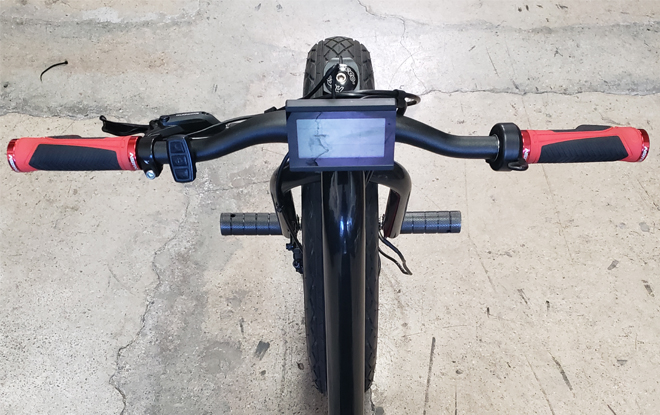
With a phillips screw driver, 3mm, and 4mm allen keys tighten down handlebar components.
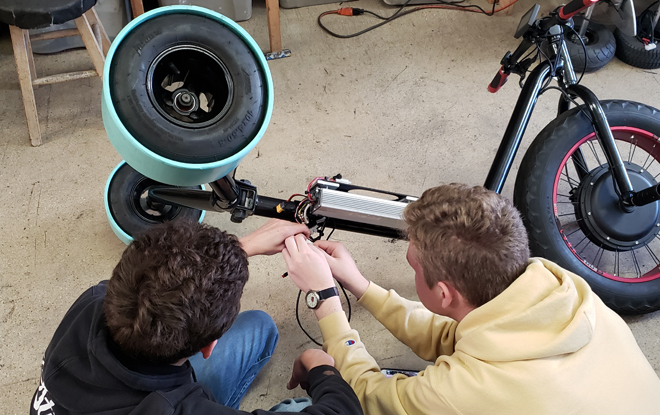
Step 6: Wire Routing


With a brake cable (provided as a tool) and electrical tape, gentley route wires through the frame.
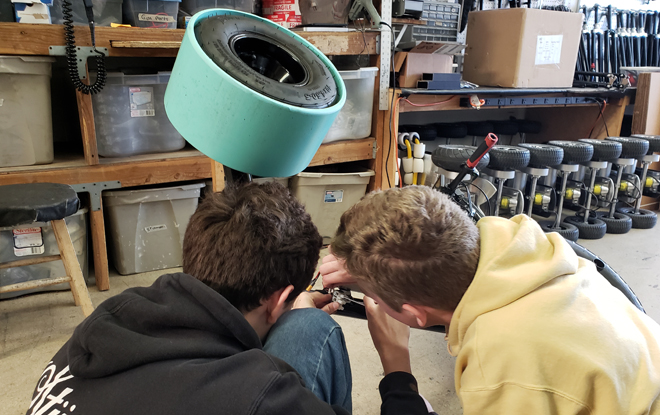
Step 7: Wiring Clean Up
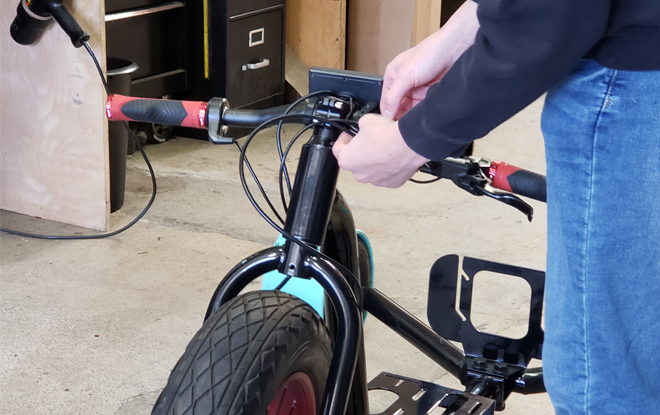

Clean up the appearance of the wires with wire loom clips.
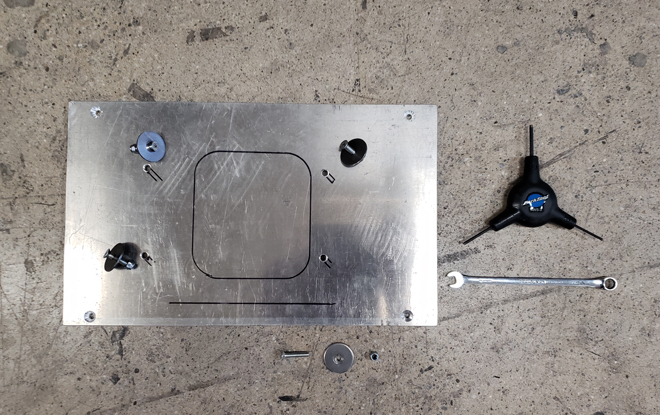
Step 8: Motor Controller Mounts

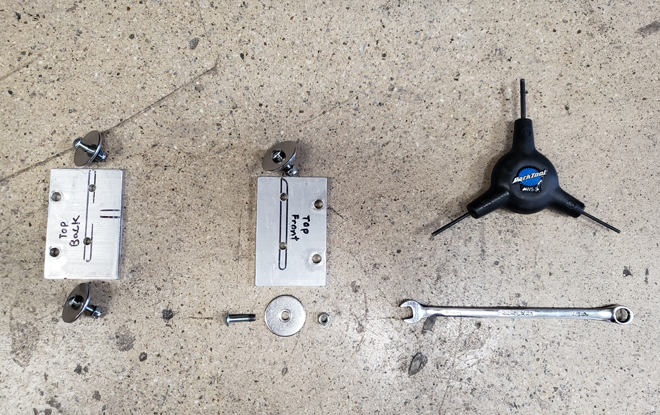
Mount the motor controller adapter plates with their hardware, 8mm crescent wrench, and 3mm allen key.
Step 9: Motor Controller
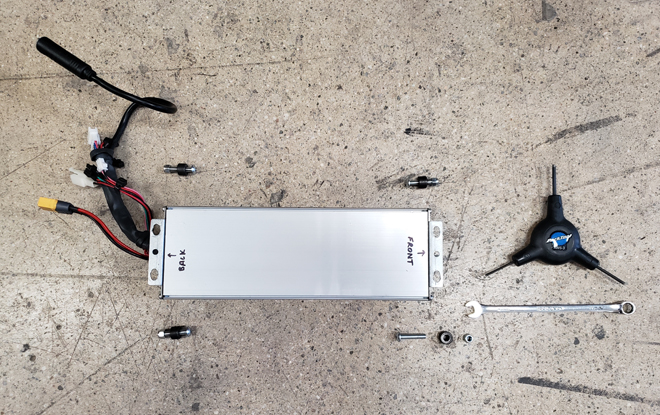
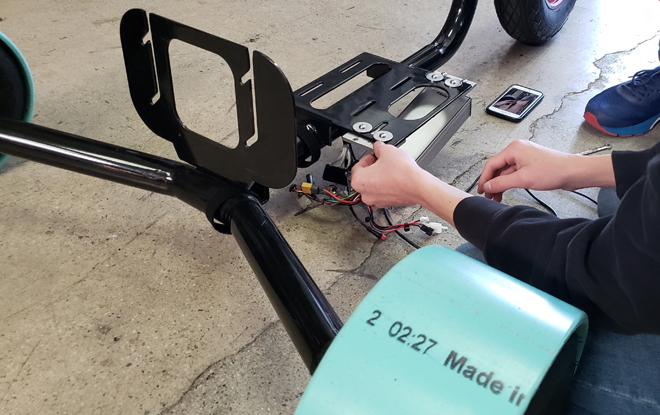
Mount the motor controller, with hardware, 8mm crescent wrench, and 3mm allen key.
Step 10: Motor Controller Wiring
Connect the throttle, lcd screen, brake inhibitor, and battery to the motor controller.
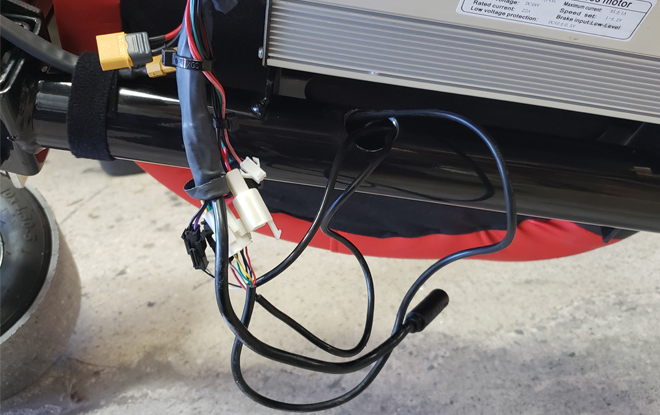
Step 11: Motor Connection
Connect the motor wires to the motor controller.
Step 12: Battery Mount

Bolt the battery adapter plate to the frame. Use the hardware, 8mm crescent wrench, and 3mm allen key.
Step 13: Battery
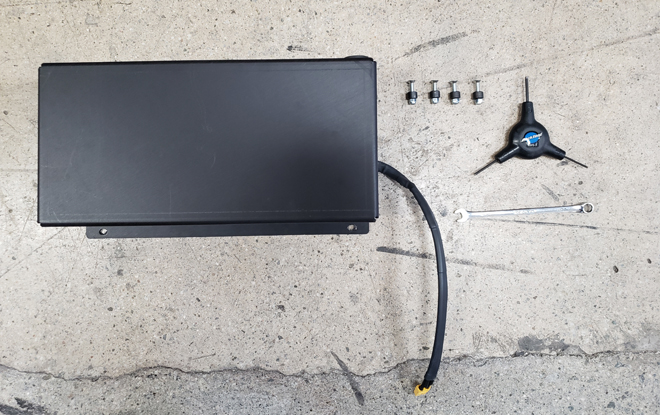

Fasten the battery to the battery adapter plate. Use hardware, 8mm crescent wrench, and 3mm allen key.
Step 14: Seat


Mount the seat to the frame. Use seat hardware and 4mm allen key.
Step 15: Final Tune
Adjust components to comfort and give a final torque to each hardware.
Before Every Ride
- Ride in a safe location
- Always wear a helmet
- Ride with friends present
- Start in a low power level
- Inflate tires to max pressure (printed on tire sidewall)
- Perform brake check to be sure the wheel stops
- Make sure throttle and brake inhibitor function
Have fun and be safe!